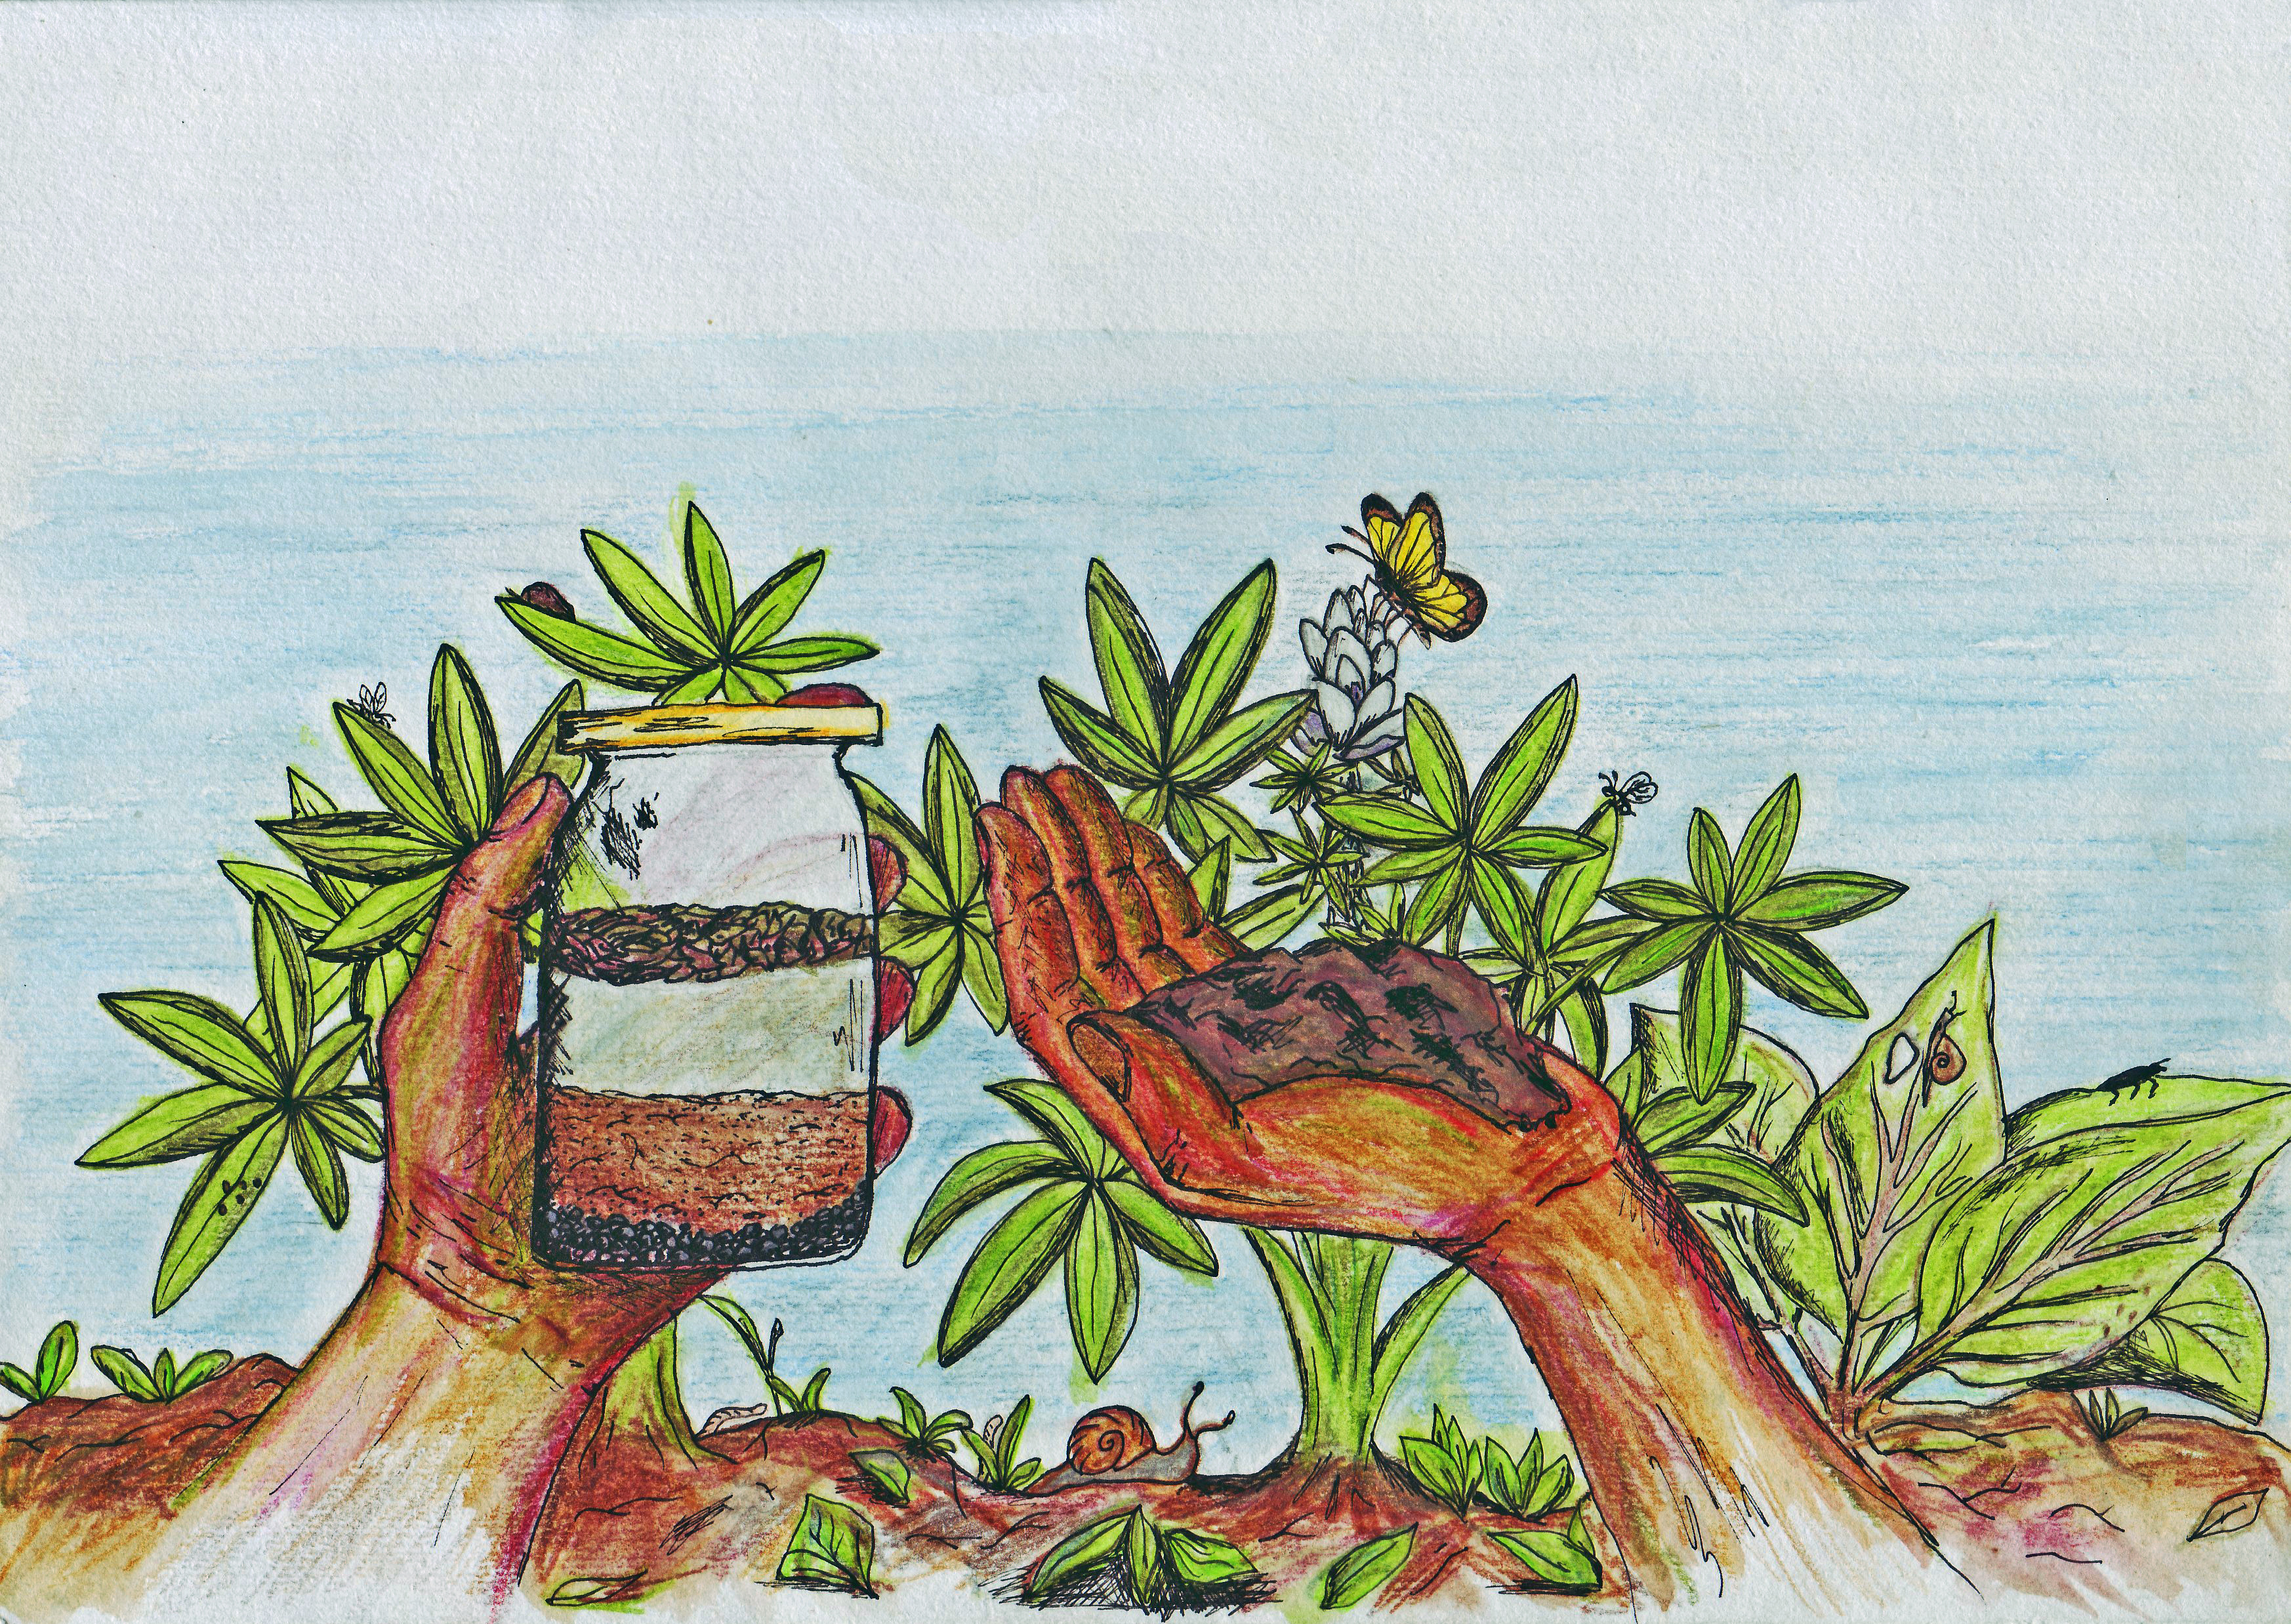
Written by Karsten Hinrichs
Edited and contribution from Doug Crouch
With a continuous production of food scraps and waste in the kitchen, there is need for a small and slow solution element too deal with this energy cycle. Vermicomposting transforms these small amounts of carbon resources in a slow yet very effective process that hinges upon small inputs of energy on a daily bases. As opposed to a hot compost, for instance, which takes large quantities of work and materials in a short period, both processes lead to the same end result; humus.

Our aim of composting with worms is the following:
- to catch and store energy
- to cycle nutrients through the use of biological resources (-> Worms and all their friends)
- to obtain a yield of nutritionally rich, natural fertilizer, both solid and liquid, great for accelerating succession and evolution within soils and their associated plant systems
- to produce no waste and as to avoid pollution
- to do all of the above on a small scale.
The Soil Food Web Team in Vermicomposting
One might think that a Vermicompost is mostly composed of worms, but in fact worms are only a small population of the whole micro and macro vermicomposting team in your bin. Through observation one will learn that the species present in the bin have slightly different environmental preferences and food requirements. Depending on the conditions in your vermicompost and what you are feeding, you may have population blooms of varying species; i.e. if you place a lot of sugary fruit in your bin, you will see mites bloom followed by an increase in the number of springtails. When their food supply weans their numbers go back to normal which emulates other wave pattern population dynamics seen in macrofauna.
Along with the composting worms in the bin exists bacteria, fungi, nematodes, and protozoa and they rely on them, as they actually lack the enzymes to break down much of what they eat. In her book “Worms Eat My Garbage”, Mary Appelhof states: “The composting process continues after a worm casting has been deposited. In fact, the bacterial population of a cast is much greater than the bacterial population of either ingested soil, or the earthworm’s gut”.
 Bacteria are the primary decomposer of organic matter on earth and the most numerous in the vermicompost system. They decompose organic mater by secreting enzymes which break the bonds holding molecules together, thus simplifying and reducing the molecules to their component elements for absorption. As bacteria simplify the organic matter they make it available to worms and other organisms in the system as well.
 Actinomycetes are a higher form of bacteria. The smell, so commonly associated with fresh soil, is the smell of Actinomycetes. Being crucial to the formation of humus, these ambitious bacteria convert dead organic carbon into a type of peat and also release various nutrients such as nitrogen and carbon. Since actinomycetes possess the ability to produce antibiotics, many other bacterial populations decrease as the number of actinomycetes increases.
-

Fungi fruiting in the vermicompost
Molds and fungi are common organisms in a healthy Vermicomposting system as well. Fungi are simple living organisms but precious to the soil. The Kingdom of Fungi includes yeasts, molds, and mushrooms. They feed on decaying organic matter with tiny, hair-like hyphae, secreting enzymes which break down and simplify the organic material. They are also an additional food source to other organisms in the system, including worms. Mold is a good indicator of whether or not the feeding rate is adequate. Because they grow most prolifically in still, quiet environments, large amounts of mold and fungi indicate there is more food than the system can quickly manage and the feeding rate should be decreased. Mold and fungi pose no threat to the garden or the animals living in the worm bin. However they can cause irritation to humans with mold allergies. If you are allergic to molds, your bin should be kept outdoors or in a garage or basement that is well ventilated to reduce or eliminate irritation.
Mites are commonly found on the surface of the bin. As mentioned before, their populations will bloom when you have wet, sugary foods (fruit) in your Vermicomposter.
-

Mites and Springtails
Springtails are extremely numerous in a vermicompost. They are very small, wingless insects and can be distinguished by their ability to jump when disturbed. They run in and around the particles in the compost and have a small spring-like structure under the belly which catapults them into the air when the spring catch is triggered. They chew on decomposing plants, pollen, grains, and fungi. They also eat nematodes and droppings of other arthropods and then meticulously clean themselves after feeding.
 Nematodes are tiny, cylindrical, often transparent microscopic worms and are the most abundant of the physical decomposers; a handful of decaying compost contains several million. It has been estimated that one rotting apple contains 90,000 of them. Under a magnifying lens they resemble fine human hair.
Worms do the lion’s share of the decomposition work among the larger compost organisms. They are constantly tunneling and feeding on dead plants & fungus and decaying insects during the daylight hours. Their tunneling aerates the compost and enables water, nutrients and oxygen to filter down. The Rodale Insitute says the following on earthworms:
“As soil or organic matter is passed through an earthworm’s digestive system, it is broken up and neutralized by secretions of calcium carbonate from calciferous glands near the worm’s gizzard. Once in the gizzard, material is finely ground prior to digestion. Digestive intestinal juices rich in hormones, enzymes, and other fermenting substances continue the breakdown process. The matter passes out of the worm’s body in the form of casts, which are the richest and finest quality of all humus material. Fresh casts are markedly higher in bacteria, organic material, and available nitrogen, calcium, magnesium, phosphorus and potassium than soil itself.” (Rodale)
The worm species that have been working best for vermicomposting so far are:
- Eisenia foetida,
- Eisenia andrei,
- Eisenia hortensis,
- Lumbricus rubellus,
- Perionyx excavatus,
- Eudrilus eugeniae.
Keep in mind that some worms are adapted to warmer climates ( Perionyx and Eudrillus) and some for colder climates (especially Eisenia hortensis). Do your research before ordering any worms of the internet.
WHAT DO WORMS NEED?
Worms (Eisenia fetida & Lumbricus rubellus) can survive a wide variety of temperatures, but they thrive best at temperatures between 55 and 77 degrees Fahrenheit (13–25 degrees Celsius). Its crucial for them to stay away from strong temperature oscillations such as direct sunlight or freezing. As temperatures go down, they become less active so you may want to move your bins from summer to winter. Adjusting the feeding rate is important in the cold times because they will inherently be less active. Furthermore, moisture and oxygen are vital and the design and management needs to make sure they are there. Importantly they need a moist, organic substrate or “bedding” in which to live. The bedding should be about as damp as a wrung-out sponge and this should be monitored as too much moisture can be disastrous along with too dry. Their skin is photosensitive, which is why they need a dark environment.

Because worms have no teeth, they need some type of grit in their bedding that they can swallow and use in their gizzard to grind food, much like birds do with small stones. Common additives used include rock dust, oyster shell flour or diatomaceous earth. Since oyster flour and some kinds of rock dust (white) are made out of calcium carbonate, adding too much will raise the pH in the worms’ environment. Worms prefer a slightly acidic pH level of about 6.5. So, adding no more than a tablespoon of grit every time you add new compost should not significantly alter the pH. These additives will provide a wide range of minerals to your finished castings and turn it even richer!
WHERE TO KEEP THE VERMICOMPOSTER?
Besides respecting the worms needs, you will benefit from having your Vermicomposter in relative location to the kitchen (where the foodscraps come from) and to the garden, nursery, herb spiral, or wherever castings are of need. Be aware that the bin will have all those bugs coming out at one point, so keep it somewhere where you don’t need to worry about critters coming out crevices in case you keep it indoors. Again site it for appropriate temperature regulation to keep the system thriving.
SYSTEM TYPES
The Continuous Flow Vermicompost
The Continuous Flow Vermicomposter (CFV) mimics the Earthworm in its pattern. Worms are mainly composed of a digestive canal that harbors a plethora of organisms living symbiotically. Its diverse fauna decomposes, consumes, and digests its contents to reward you with valuable vermicompost yields.

This particular approach to Vermicomposting is low in management and is self-harvesting as there is no need for turning its contents or changing the bed from one side to the other like some may know from the bathtub system. Once it gains momentum, and as long as you continue feeding according to its capacity, it will continuously give back worm castings. It also gives almost all of what is needed to replicate another vermicomposter so it could be your first system to start with.
The design of such a system could look like this below.

STARTING A NEW CONTINOUS FLOW VERMICOMPOST(CFV)
To start-up a newly built CFV, it is of great advantage to have an already running vermicomposter or friends who have one. This gives a starter team source of worms with their own castings as they like their own castings partly as bedding and contains heaps of microbes to kickstart it all. Other bedding materials include compost, straw, newspaper or cardboard with proper humidity.
If you don’t have a source of worms, a cold compost should be a good source, or maybe you just have to collect them from nature and use the soil you found them in as the initial bedding mix. In nature, Eisenia fetida is found in moist, organic-rich environments, such as cow patties or under logs in the woods. Since you won’t know for sure what type of earthworms you have found, you should can always buy them from a worm grower.
-

Empty CFV seen from above. This is where you put the cardboard and newspaper on. - As shown here, the spacing of the bars is of 3 1/4 inches (8.25cm). These are the spacings of the centers of the holes and the gap become smaller with the bars inserted. (I use rebar from scrap metal from construction sites.)
Still, this is a big gap for the starter soil, worm castings, or bedding to fall through if you were to try that out without any preliminary steps. It will take some time for the new content to compact to the point that it doesn’t fall through as easily. To deal with this spacing issue of the bars, one can cover and layer the bottom and along the sides with layers of newspaper. Below that should be cardboard against the bars to properly reinforce as to be able to then fill the CFV with the bedding. Be sure to put enough pages to hold the weight of the compost even if it gets humid. More is better. The newspaper and cardboard will very slowly but surely break down over the course of a few months to the point at which the compost starts trickling down. Obviously you won’t be able to harvest anything at all until that happens and it is worth the wait.
COLLECTING THE FOOD SCRAPS IN THE KITCHEN AND MAINTAINING A CFV
For me this is the stage of the whole process that I dedicate most of my energy towards.
Big quantities of newspaper and other carbon rich material is not only helpful to keep it balanced but crucial. A pre-rotting of nitrogen rich material is of great advantage for this system as worms will be able to imediately munch away without having to wait too long.
Personally, the technique I have been using successfully to keep my Vermicomposters going is described below the pictures that show this tried and tested technique.


- Have a bucket as container to collect all the kitchen scraps in the kitchen as well as a healthy stash of newspaper or alternatively cardboard.
- Cover the ground and walls of your container with at least FOUR whole pages of newspaper crossed in all four directions. It should look like a star at the end.
- Start filling the container with kitchenscraps until the bottom is covered. Usually one meal preparation will be enough but it depends of course on your diet.
- Until your next meal preparation, it might take some time, so cover everything with another layer of four pages. Press it on the top of the food scraps and hold it down while you tuck the sides of the newspaper in. If you don’t cover it all up properly you will end up with your kitchen full of fruit flies flying around and hanging on your walls. Be sure not to mound up to many food scraps. For it to start composting without getting too hot or too acid you need to have as much carbon rich material as possible.
- Repeat the process until you bucket is full.
- Throw its content into your Vermicomposter and start over the whole pre-composting process.
Regarding the container, a slightly wider opening at the top may make it easier to empty.
In an urban setting, newspaper becomes a valuable source of carbon. Though not as flexible until wet, brown cardboard is the next best and easily available choice. You’ve got to know someone close who reads the Newspaper or cafes closeby (they usually have loads of coffee grounds as well!).
HARVESTING
When the bottom newspaper has started breaking down, usually you see castings that have trickled down which accumulate at the bottom. With the decomposition of materials, everything becomes increasingly denser. If it doesn’t happen by itself you can always help out with your hand or small fork tool. You lightly scrap upward with your hand at the bottom entrance until you see blobs of casting fall downwards.

HARVESTING WORM LEACHATE
To harvest the worm bin liquid place a tray in the hole below for some days(or drill some holes in the bottom and place the tray below that). Be sure to use the worm bin liquid as soon as possible because if the liquid stays there for too long, you may have to just pore it back on top again as it becomes anaerobic (absence of oxygen) and not so beneficial for your soil.
OTHER VERMICOMPOST SYSTEMS
There are many styles of Vermicomposting and all have their pluses and minuses. Below are a few different types to see what you resonate with.
- Bucket (The one I started out with).
Standing a littler higher up on stones above a worm leachate collecting container. With his one people often convert small garbage can and add a tap to harvest liquid. many people pour water over top to do a compost extract then add dry materials to balance humidity levels.
- Bathtub: In this approach worms migrate horizontally back and forth rather than constantly upwards like in the CFV. The elongated edge gives heaps of space for composting but does require one to shift the ingredients from side to side to let it finish. This
 means when you want a heap of the castings, you place everything on one side and create a new bedding and feeding system on the other. The worms will migrate over in a few weeks period and the composting process will be more complete. This technique is really great when you have a nursery and need bulk quantity at specific times of the year.

- Flow-through: While not exactly the same as the CFV, this one works with many “floors” that you fill up from bottom to top. When you go to harvest, you have to take all the top ones off first. As you manage the system you cycle the trays through so its a very mobile unit. You can also collect the liquid easily from this one. Perfect for kids and schools for the purpose of demonstration!

- Large Scale Continuous Flow Vermicomposting – wormpower.net

PLEASE NOTE
As easy as it is to start worm bins, small scale bins are actually the hardest.
In the event that there’s some kind of imbalance there is little room for the worms to go. Compost bins like the DIY worm bin made out of plastic, although cheap, make your worms just a little harder to take care of.
As a Permaculture Designer I strive for energy efficiency. I’ve also had experience with all of the small scale approaches presented above, with exception of the Flow-through tray stack tower. If you have big quantities of food scraps to feed the bin, I believe that the continuous flow bin is the most energy efficient and system. Also remember the permaculture principle for each important function, let it be supported by many elements. This equates to you needing either several worm bins to accommodate all of your food scraps or also sometimes it goes to pit gardens, hot compost, or chicken or pig pens.
TROUBLESHOOTING
There are several things that can go wrong when you start out with vermicomposting and usually they are easy to fix. The following is a list of solutions for these problems.
Always remember the four main ingredients for composting; Carbon, Nitrogen, Air & Moisture.
SMELLS
When closed, a well-maintained bin is odorless; when opened, it should have little smell. If any smell is present, it is supposed to be earthy. Worms require gaseous oxygen.
Oxygen can be provided by air holes in the bin, occasional stirring of bin’s contents, and removal of excess food scraps. You will also see your worms coming out of the bin with weird bodies if imbalances of carbon to nitrogen ratio are occurring.

Anaerobic decomposition accompanied by the smell of ammonia usually starts with:
- too little carbon rich material,
- too few and/or little air holes,
- excess food scraps added to the bin
- excessive moisture
PEST SPECIES
In warm weather, fruit and vinegar flies breed in the bins if fruit and vegetable waste is not thoroughly covered with bedding. This problem can be avoided by thoroughly covering the waste by at least 2 inches (5.1 cm) of bedding or newspaper as explained above. Maintaining the correct pH (close to neutral) and water content of the bin (just enough water where squeezed bedding drips a couple of drops) can help avoid these pests as well.
Pests such as rodents and flies are attracted by certain materials and odors, usually from large amounts of kitchen waste, particularly meat. Eliminating the use of meat or dairy product in a worm bin decreases the possibility of pests. (For meat look up Black Soldier Fly Farming). Some troublesome microorganisms also come from adding citrus and bread so stay away from those and cooked food in general.
WORMS ESCAPING
Worms generally stay in the bin, but may try to leave the bin when first introduced, or often after a rainstorm, when outside humidity is high. Maintaining adequate conditions in the worm bin and putting a light over the bin when first introducing worms should eliminate this problem. If too much nitrogen is added in comparison to carbon material the bin also heats up like a hot compost pile. The worms will evacuate if these conditions are present and can be remedied by adding a heap of carbon material. Remember when you are beginning out to only add a little bit of food until the whole system is ticking and the worms have multiplied.
NUTRIENT LEVELS
Commercial vermicomposters test their outputs and may consequently amend their products to produce consistent quality and results. Because the small-scale and home systems use a varied mix of feedstocks, the nitrogen, potassium and phosphorus content of the resulting vermicompost will also be inconsistent.
General Benefits
Soil
- Humic and Fulvic acids form clay-humus-complex (soil nutrient storage and feeds fungus in particular)
- Improves soil aeration
- Enriches soil with micro-organisms (adding enzymes such as phosphatase and cellulase)
- Microbial activity in worm castings is 10 to 20 times higher than in the soil and organic matter that the worm ingests
- Attracts deep-burrowing earthworms already present in the soil
- Improves water holding capacity
Plant growth
- Enhances germination, plant growth, and crop yield
- Improves root growth and structure
- Enriches soil with micro-organisms (adding plant hormones such as auxins and gibberellic acid)
Economic
- Biowastes conversion reduces waste flow to landfills
- Elimination of biowastes from the waste stream reduces contamination of other recyclables collected in a single bin (a common problem in communities practicing single-stream recycling)
- Creates low-skill jobs at local level
- Low capital investment and relatively simple technologies make vermicomposting practical for less-developed agricultural regions
- decreases dependency on costly synthetic inputs
Environmental
- Helps to close the “metabolic gap” through recycling waste on-site
- Large systems often use temperature control and mechanized harvesting, however other equipment is relatively simple and does not wear out quickly
- Production reduces greenhouse gas emissions such as methane and nitric oxide (produced in landfills or incinerators when not composted or through methane harvest)
- accelerates succession and evolution of soils and plant systems alike
- local production of natural fertilizer meets the need of local food producers

CONCLUSION
Knowing the design and having everything in place, these three ready to start CFVs took me about an hour to convert (picture above). In that sense, the conversion from a trash bin to producer of one of the most precious resources really expresses the Permaculture Principle/Attitude: Least Change, greatest effect. A few holes and some rebar on the right place and size dimensions really make a difference on many levels.
Either large or small scale, Vermicomposting is one of the essential structures for a sustainable future of human kind. Don’t get frustrated if you don’t succeed on your first try. Don’t start too small and with materials as simple as dry leaves, always keep the carbon input high and nitrogen low. Smell, feel, observe and interact. If you fail, try again!
With time and success quickly feel the need of scaling up with another and even better unit. By teaming up with worms, you team up with most of their friends. As all of them give their contribution to the Soil Food Web, this cycle will eventually close back on you as it will be nourishing the plants that you will eat in the future. Just like Karma 🙂
Some interesting Links:
Vermicomposting Toilet in Tamera
Written by Karsten Hinrichs
Edited and contribution from Doug Crouch
Header Art Sien Verpoest
